
Five Top Tips for Storing DIY Tools

When it comes to DIY tools, we could all do with a bit more organisation in our lives. Whether it’s storing paint tins, finding a safe place to put tools or having somewhere to keep those bits and bobs organised.
But, finding a shelving system that works for you, delivers on its promises and, perhaps most importantly, gives you plenty of storage space is not necessarily easy. So, whether you’re just starting out in your first home, an avid DIY-er or just the sort of handyperson we need around the house, we run you through our top five tips for storing all of that DIY equipment.
1. What DIY tools are you storing?
When creating the perfect DIY work area, you must keep everything tidy. This provides three key benefits to your work area. First off, your tools are less likely to get damaged. Secondly, you can get through the DIY jobs with less hassle (by removing wasted time trying to find that essential screw). Lastly, safety. DIY jobs can be dangerous, but you can limit the risk by keeping tools stored and off the floor – no more trip hazards!!
The next thing you must ask is…what do I need to store? DIY equipment comes in all shapes and sizes. Having some idea of what you have to organise will help you to decide what sort of shelving you need.
2. Maximise your space
We are all limited in the space we can devote to storing our DIY tools, anything from a large garage all the way down to a small corner in a shed. Whatever you’re working with, you need to choose a shelving system with the flexibility to fit.
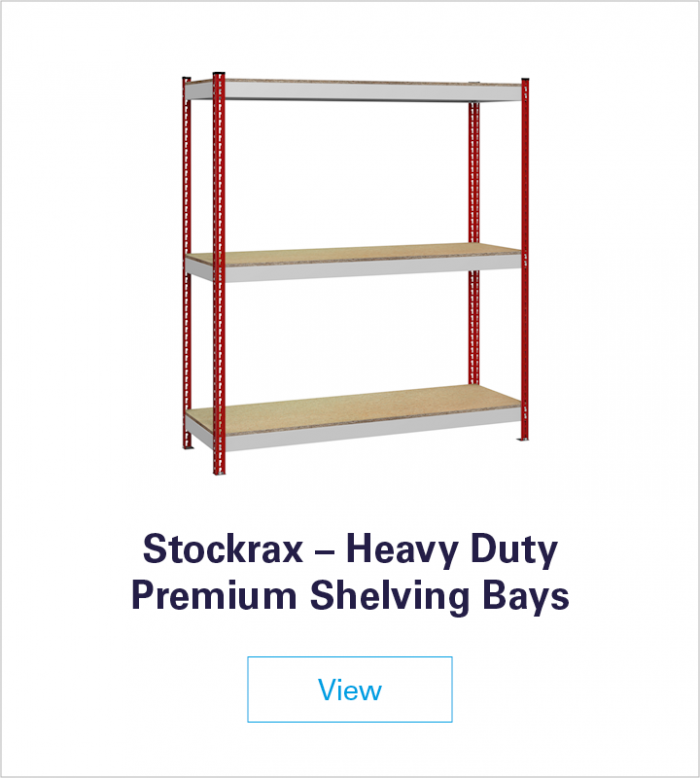
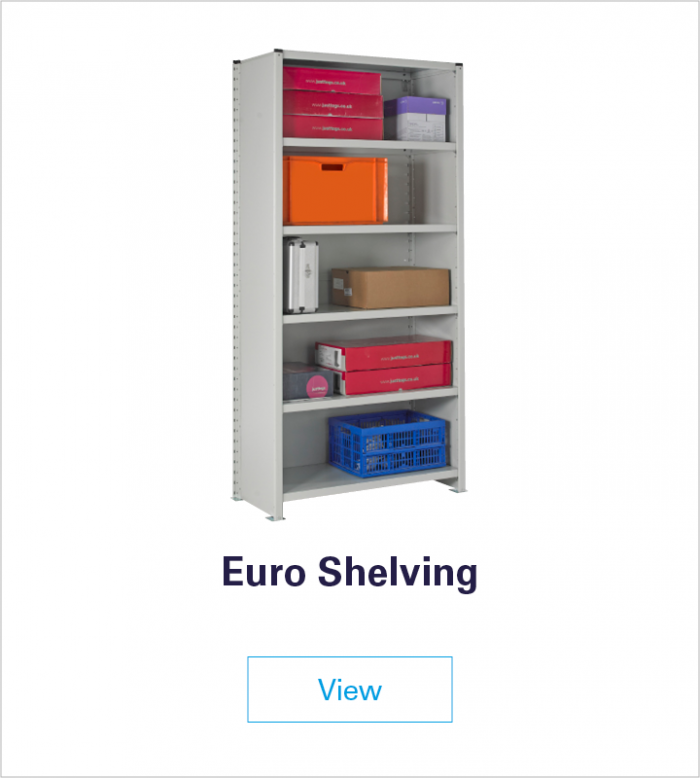
Our Stockrax or Euro Shelving is available in a range of heights, widths and depths to accommodate the most awkward of spaces. Even better, both systems come with extension kits, providing you with the flexibility to extend your storage as and when you require.
Don’t let the weight of your power tools catch you out. Check the loading capacity of your shelves and, if needed, go with something like our Stockrax heavy-duty option that holds up to 650kg.
3. Organise your storage space
You’ve chosen your shelving, time to think about how you organise everything. Shelf spaces are great but, to get the most out of your system, you need to utilise the entire height and width of the area. Accessories are the key here.
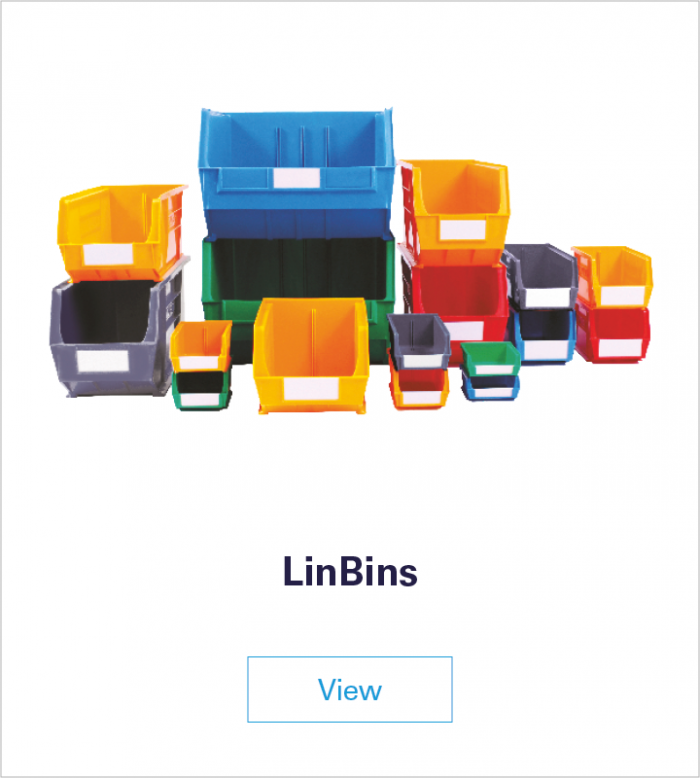
Start off with some of our LinBins. These tough, plastic storage bins come in various sizes to keep everything in order – from small nuts and bolts all the way through to larger sheets of sandpaper. Plus, they’re stackable – you can fill the entire height of your shelf!
You can tailor your storage even more by adding side and back panels. Then pop in some shelf dividers to create bespoke compartment bins to store paperwork.
Finish the job with some of our wall-mounted louvre panels to hang your tools or go with a workbench that gives you a space to work.
4. Think about cost
You may think you’re getting a bargain with cheap shelving, but it isn’t always the best option. Cheap steel will degrade and rust quickly, especially in damp environments like a garage or shed. You’ll end up having to replace your shelving much more quickly.
Instead, opt for a quality grade of steel that will stand up to its environment and last the test of time. Check the quality and thickness of the metal in the frame, for example, the steel on our Stockrax shelving is about 50% thicker than other systems found on the market.
You might want to consider whether you’ll need to add to your shelving later. If you’ve bought cheap and the product is discontinued, you may end up buying all over again. When you buy from Storage Direct, we make sure compatible products are available for the lifetime of your system.
5. How quickly and easily can I get my storage in place?
Made up your mind on what you need? One last area to check is how easily you can get your shelving in place.
What are the delivery timescales for your product? It’s no good if you buy direct from a manufacturer but then have to wait months for it to arrive. At Storage Direct, our UK-manufactured products are ready to deliver within three to eight working days.
Even better, once your delivery has arrived, you’ll have your shelving up in a jiffy. Both the Euro and Stockrax shelving features an incredibly simple tap-together process. All you need to do is insert clip lugs into slots on the frame and then tap into place with a rubber mallet. Before you know it, your shelf will be ready.
Ready to upgrade your DIY storage? Get some help choosing the best system by speaking to one of our storage gurus. They can answer any questions you might have.

Comments are closed here.