
How to Install Our Everyday Stockrax Shelving

How to assemble metal shelving
Our previous blogs discussed the importance of choosing the right shelving. Making sure your shelving maximises the space by efficiently filling the area and checking they are suitable for the items you want to store.
All sounds good. But have you considered one other factor, how easy are they to put together? There’s no point in ordering new shelving if it ends up in a lot of blood, sweat and tears. Will you end up having to call in an expert just to get the shelves in place (and lose all your cost savings as a result)?
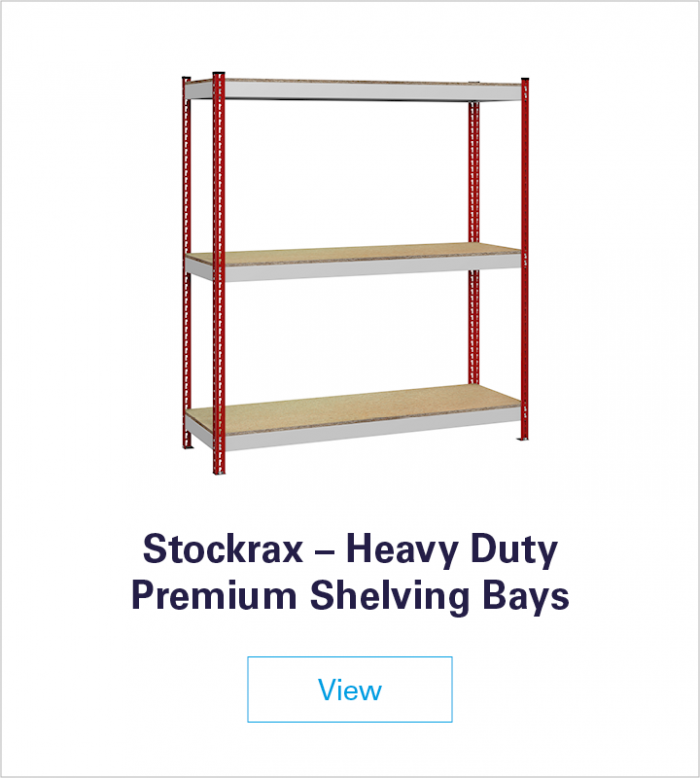
At Storage Direct we understand the problem. With over 70 years’ worth of experience in storage equipment, we know a thing or two about getting it right. Take our Stockrax shelving for example – it’s the perfect all-rounder. Ideal for popping into your shed, organising your garage or getting your e-commerce business up and running.
It’s available in a range of sizes, so we’re sure you’ll find something to fit into most spaces, you can also choose from standard or heavy-duty systems, plus it’s incredibly durable. On top of that, it’s boltless which makes it incredibly quick and simple to install, pretty much anyone could have a go at it. Here’s our step-by-step guide to assembling your shelving.
Be prepared
There’s a very good reason that the Girl Guiding motto is ‘be prepared’. If you know you have everything in place to start with, the job will be a whole lot quicker and easier.
Unpack your shelving and check all the bits are there. If anything is missing, get in touch with us straight away and we will send a replacement. Now phone a friend to help you out – it’s best to have two people on the job. Then gather up your tools. As our shelving is boltless, you’ll only need a rubber-faced mallet and a broad blade screwdriver.
We also advise being careful when assembling your shelving, particularly when lifting, stretching or using tools and allow adequate working space.
How to assemble metal shelving – 10 easy steps
- Starting with the uprights, first check you are holding them the right way up by making sure the ‘P’ slots are in the correct orientation.
- If your shelving has been supplied with four top caps, fix these to the top of your uprights. Then take your footplates and bolt them to the bottom of the uprights. Repeat until you have the four corners of your shelving system.
- Time to assemble the first side of your frame. Before placing in the beams always check they are facing the right way. Look for the triangular slot which sits between the two lugs – it should face downward.
- Take two uprights and place your first short beam at middle height position. Insert the clip lugs into the ‘P’ slots in the upright, press down and then tap into place with the rubber mallet. Make sure the lugs have fully located.
- Now repeat by inserting the beam at the highest and lowest shelf positions. This lowest beam should be within 200mm of the floor. If exceeded, you will need to fix your shelf to the floor. Complete the side frame by inserting any other shelf beams you need.
- Repeat for the second side frame, ensuring the beam positions match the first side frame.
- Now link the two side frames. Take two longer beams and position one on the front of the frame and one at the back. Make sure they match the position of the beams on the side frames. Repeat with the remaining beams.
- On standard Stockrax shelving, if your beams are 1200mm or 1500mm in length you will need to hook a wire tie through both holes at the centre of the beams. On heavy-duty Stockrax shelving, if your channel beam lengths are 1800mm, 2100mm or 2400m you will need to insert decking supports. Ensure the slots in the decking support tags are in line and at right angles to the lugs on the inner face of the beams. Gently tap the support into place until fully located.
- At this point move your shelving into position.
- Complete your shelving by inserting the shelves. Take care to avoid trapping your finger.
Shelving safety
Runs of shelving bays – if you are planning on creating a run of shelving bays, we recommend you join the shelves together. Use Bay Link/Connector Plates (ordered separately) (add links to these) to connect adjacent shelving bays. Position the plates at the side and/or back positions of the shelving. Two plates connect each pair of adjacent uprights which you position seven slots from the top and seven slots from the bottom. Attach the bay link plates by placing them over the adjacent ‘P’ holes. Then take a flat screwdriver and hold it in position on top of the plate and tap into place using a mallet. Make sure they are fully located.
Floor fixing – it may be necessary for you to fix your shelving to the floor to provide additional stability. You can fix your shelving onto solid floors by using special fixing bolts that pass through the footplates into pre-drilled holes in the floor.
This applies where:
- The height of tall, shallow bays (taken as the distance from the floor to the highest loaded shelf) to the depth of the shelving exceeds a ratio of 4:1.
- The height from the floor to the lowest shelf is greater than 200mm.
- Shelves which are regularly loaded and unloaded.
- High-level shelves are regularly near or fully loaded.
If in doubt, please get in touch with one of our advisors.
Shelving words of advice
Remember, a fully loaded shelving system can be dangerous if you don’t treat it with respect. You should never climb on the structure or stand on the shelves. Do not lean or support ladders, steps or other objects against the shelving. Always use suitable equipment to reach high shelves.
When loading up the shelves, make sure the items are put on by hand and evenly distribute weight across each shelf. If you’re not fully loading up each shelf straight away, always start at the bottom first.
Need help?
If you have any problems installing your Stockrax shelving, get in touch. Our storage gurus are on hand to guide you through the process. They also know a thing or two about choosing the best storage system for your space. If you need help, they can lead you through the process from the initial planning to the supply and installation of our UK-manufactured products. There is no project too big, small, simple or unique that we can’t help with.


Comments are closed here.